BİP Integration
Prerequisites:
Before publishing the bot on your Bip account, please follow the following steps.
- After logging into your Bip discover panel, select the “Service Management” option at the left navigation panel.
In English:
- Next select the “Service settings” option.
In English: - Next please note down the Service Username and Service User Password and goto the Message Transmission Settings.
EN:
TR: - Please add https://app.mindbehind.com/external/v1/incoming/bip/{your-service-username} to the settings and tick the highlighted box.
EN:
TR:
Congratulations, you have completed the prerequisites and can move on to adding the BiP channel for your company.
Setting up the bot
- Go to MindBehind platform.
- Select “Companies” from the left side of the screen.
- Choose the company that you have created and want to assign the bot to.
- Click on Channels.
- Click the Connect button for BIP.
- Enter a Name for the Infobip channel you have created.
- Enter a Name for the Infobip channel you have created.
- Press connect after entering all the values.
- After creating the channel, Go to the assistant from the company window(refer to step 3), if you do not have an assistant create one and then open the assistant.
- Right on the top click ‘Publish’.
- In section ‘Channels’ you can see your pages that you added.
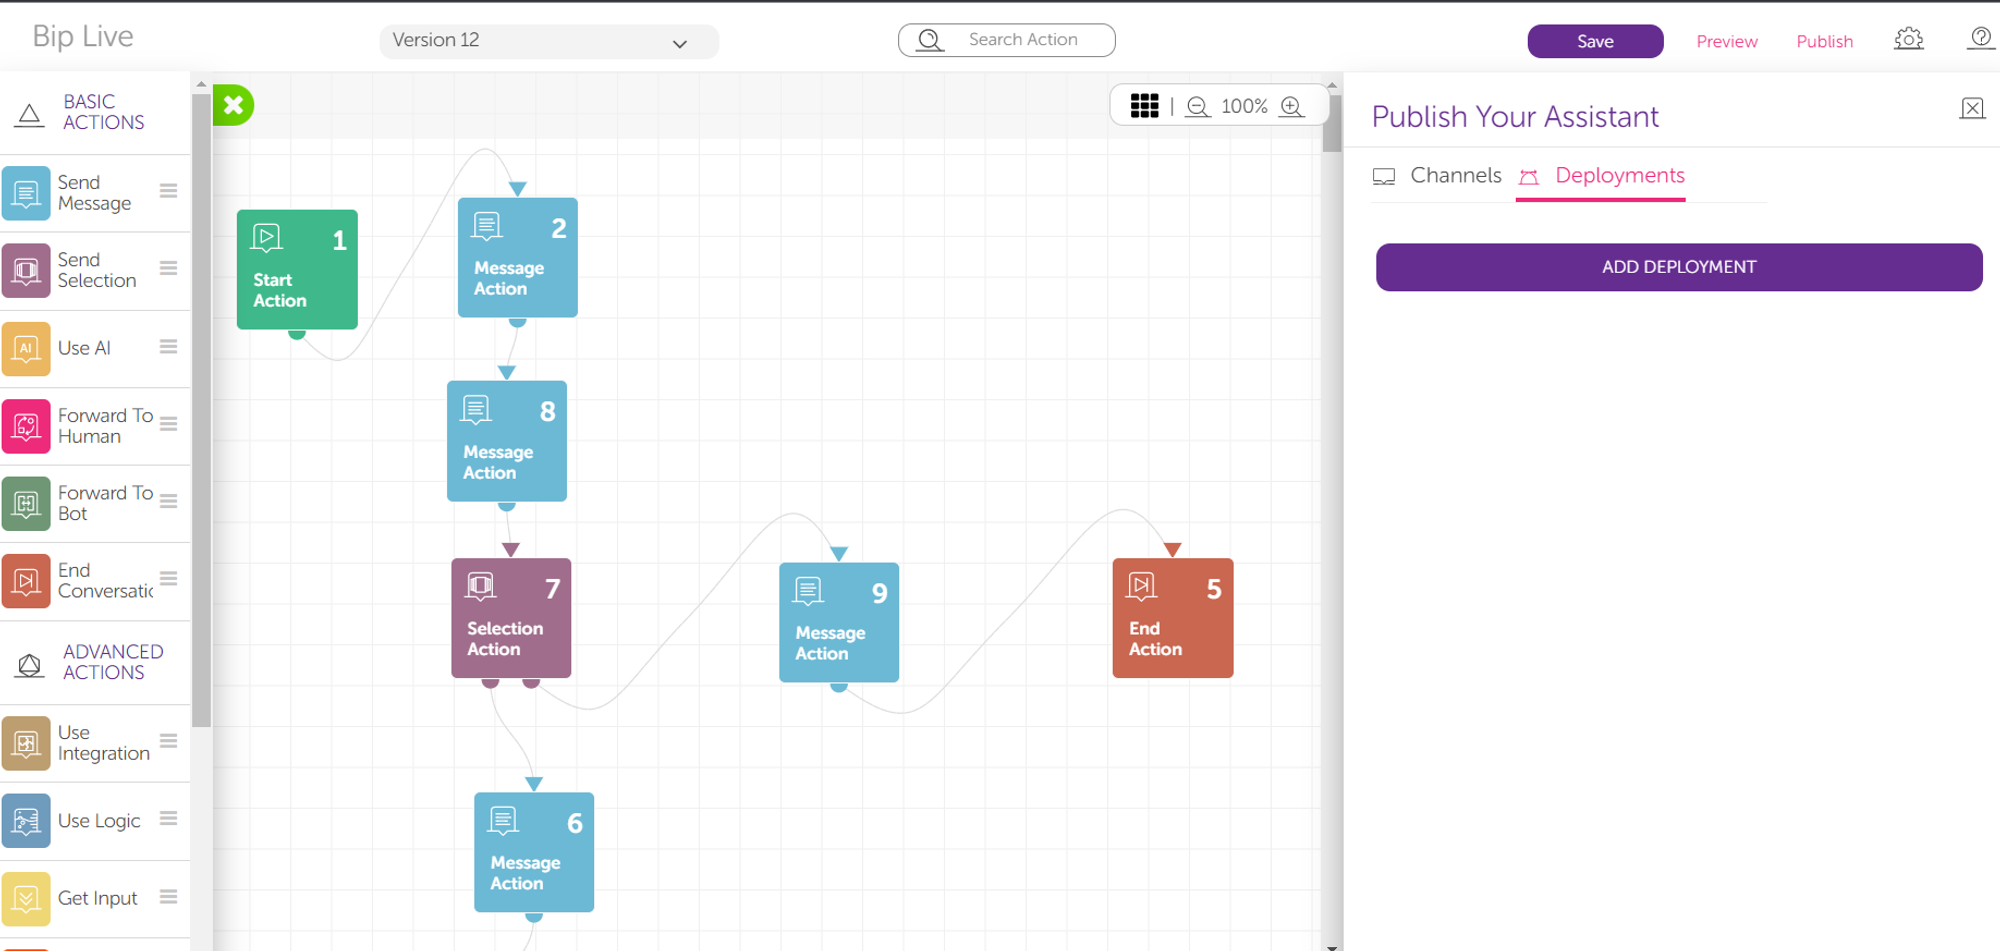
- For the last step, please click the ‘Deployments’ section and press add deployment.
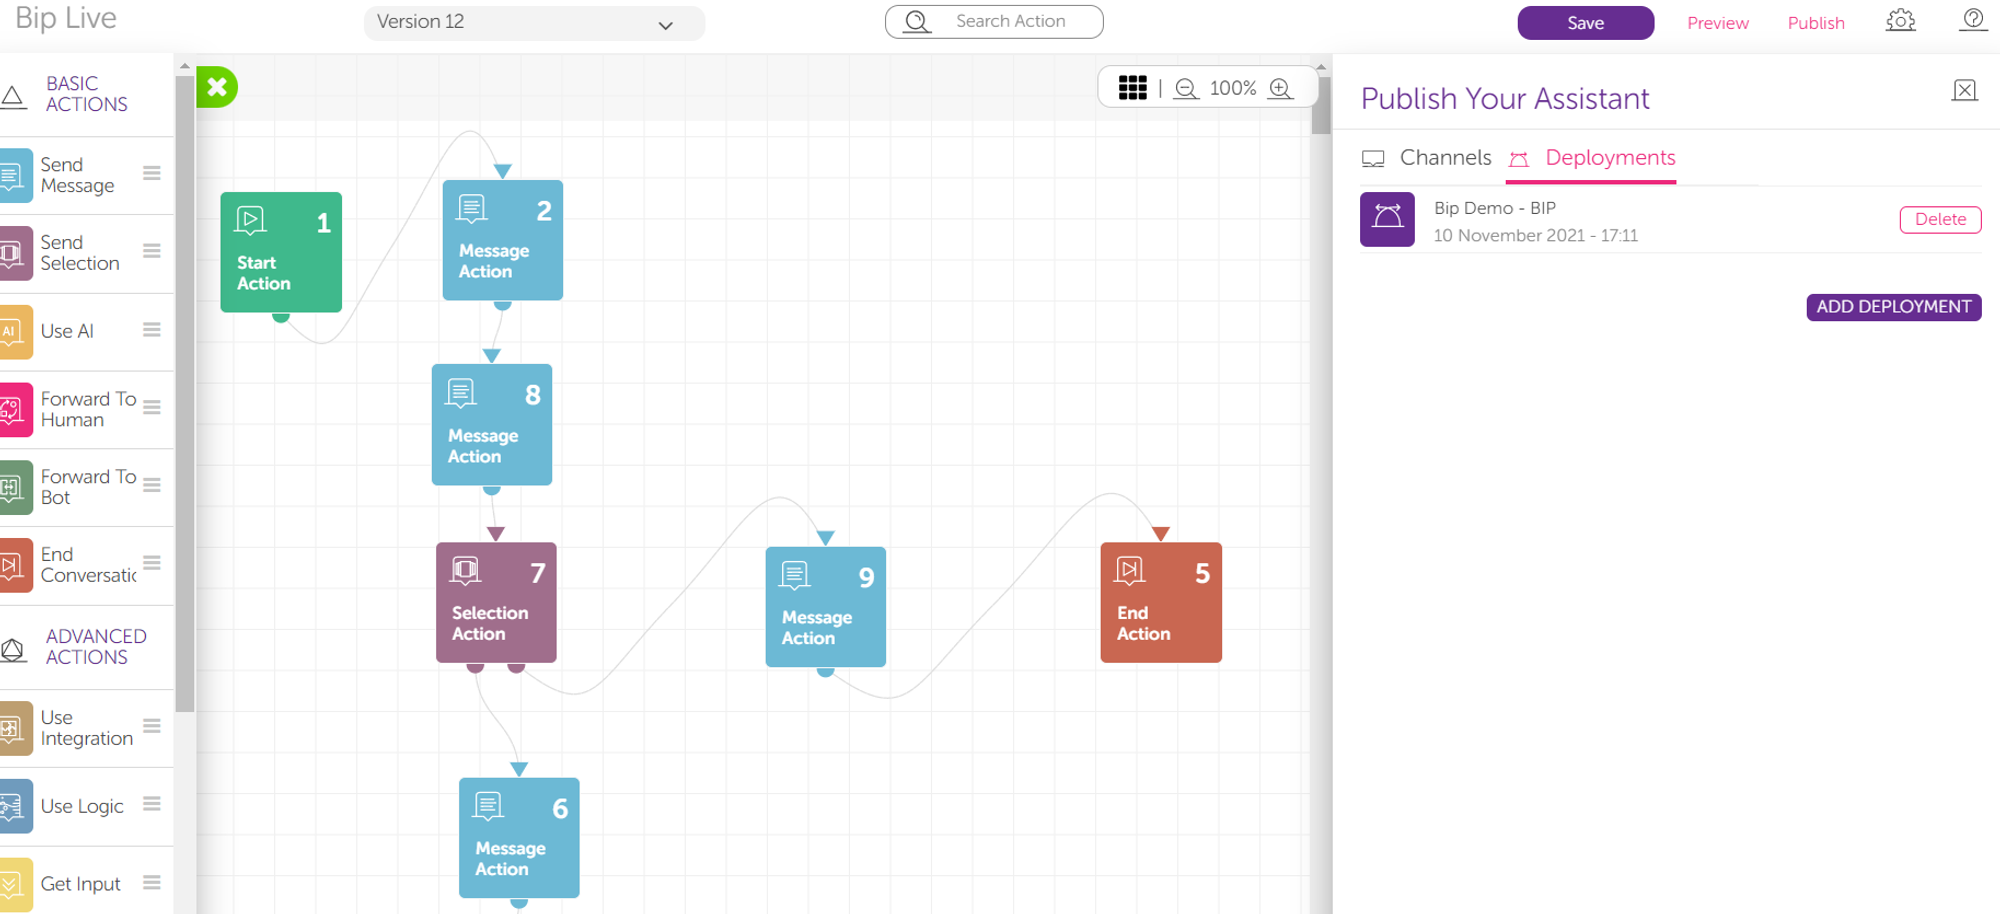
- Select your channel.
- Select the assistant version and press “Publish”.
Congratulations! Your bot is running on your BiP account.
Related Articles
How to create Zendesk Chat Integration
Go to app.mindbehind.com and log in with your credentials. On the company management page, go to Channels section to see Zendesk. Click on connect. You'll be prompted with this window. As you see in the overview, you should be registered to Zendesk ...How to Use CraftGate?
Before Starting In order to receive payment through CraftGate, the integration setup in this link. How to Create Payment Link In order to create a payment link via an assistant, a "POST" request must be sent to the following endpoint using the ...How to Integrate CraftGate
CraftGate is an app that acts as a bridge between companies and banks. It has a structure where these transactions can be managed through a common panel for different POS or methods in payment transactions. For more information check their website We ...Facebook Conversion API
Go to your Facebook Page’s Event Manager page Select “Connect Data Sources” Select “Offline” from opened pop-up and click to Connect Enter the pixel’s name which you want and click to Create Select “I don’t have a website” and click to Continue ...How to integrate a Shopify store to MindBehind
In the Company Management page, select Integrations section to see Shopify integration. Click on "ADD" here. The form that directly pops up shows the required information to connect to your Shopify store. URL represents your regular URL directed to ...